
Uploading an Image
Open Google Drive in your internet browser. Type drive.google.com into the address bar, and hit ↵ Enter or ⏎ Return on your keyboard. If you're not automatically logged in, click the blue Go to Google Drive button on the home page, and sign in with your Google account.
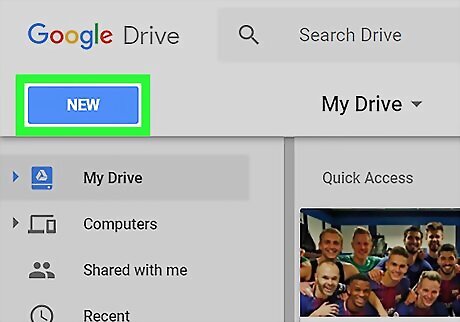
Click the blue NEW button. This button is located below the Google Drive logo in the upper-left corner of your screen. It will open a drop-down menu.

Click File upload on the menu. This option will open a file navigator window, and allow you to upload a file from your computer.
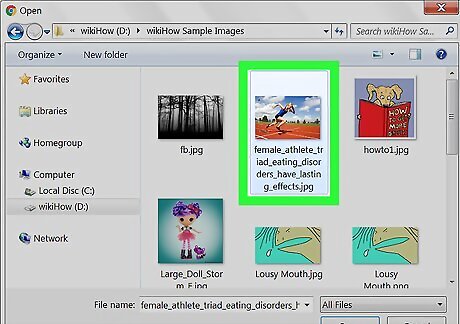
Select the image you want to convert. Find the image file on your computer, and click it.
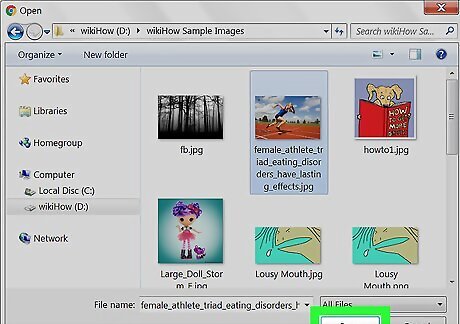
Click the Open button. This button is in the lower-right corner of the file navigator window. It will upload the selected file to your Drive.
Converting Uploaded Images
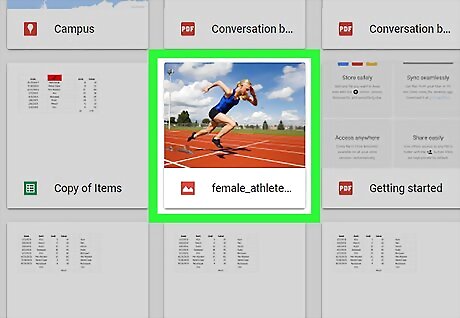
Right-click the image file you want to convert. Find the image you want to convert on your Drive, and right-click on its name or icon. This will open a pop-up list of your options.
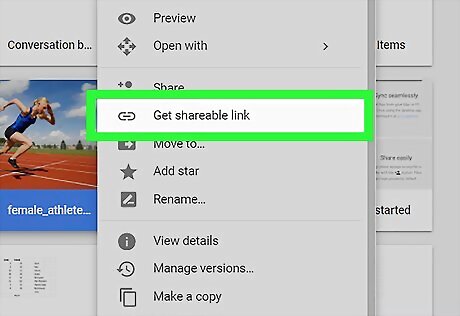
Hover over Open with on the right-click menu. A sub-menu will pop out with a list of recommended applications.
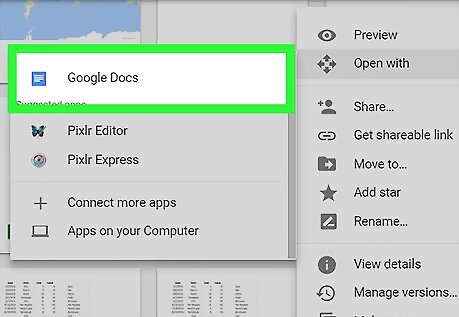
Select Google Docs on the Open with sub-menu. This will open Google Docs in a new tab, and view the selected image file in Docs.

Scroll down and find the OCR text below the image. You will see your image at the top of the document, and the converted OCR text below the image.


Comments
0 comment