views
Using Excel for Windows
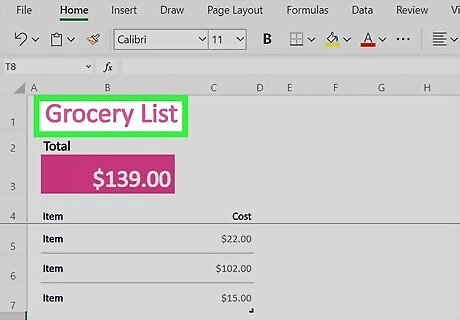
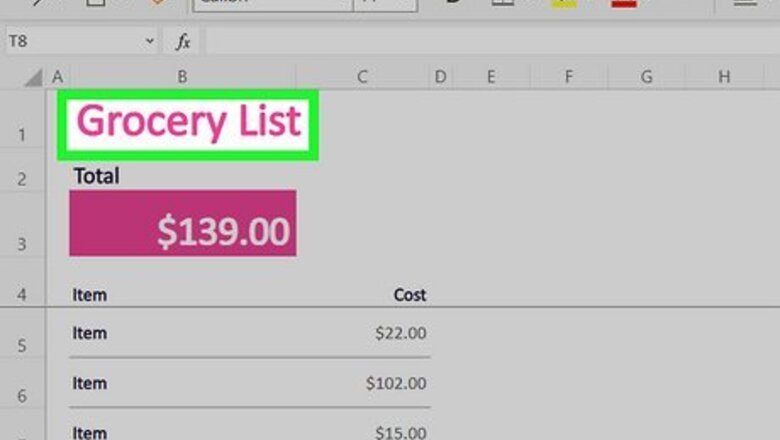
Select the part of the Excel spreadsheet you want to convert to PDF (optional). If there's only a certain part of the Excel file that you want to turn into PDF format, select it now. Otherwise, move on to the next step. Note that PDF conversions cannot be easily reverted back into an Excel sheet, but this method will preserve your original copy.
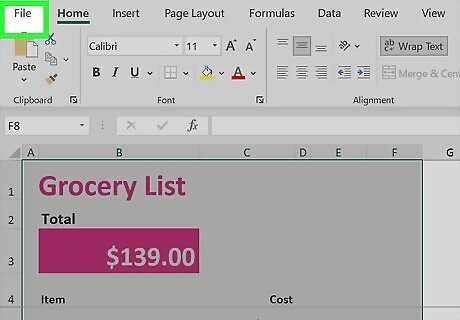
Click the File menu. It's at the top-left corner.
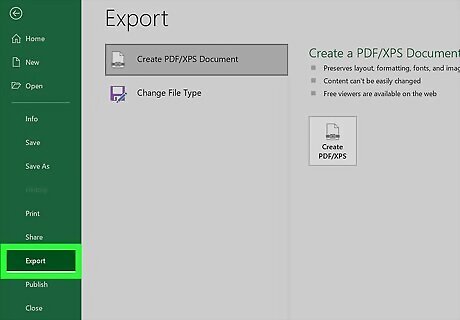
Click Export on the menu. This opens the Export panel.
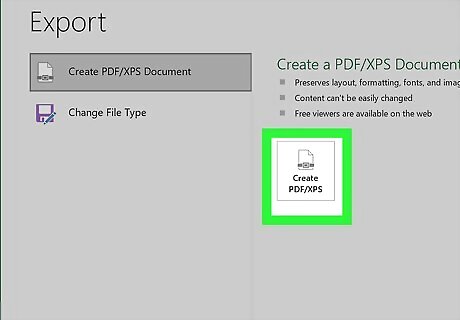
Click Create PDF/XPS. Look for the icon that looks like a sheet of paper wearing a belt.
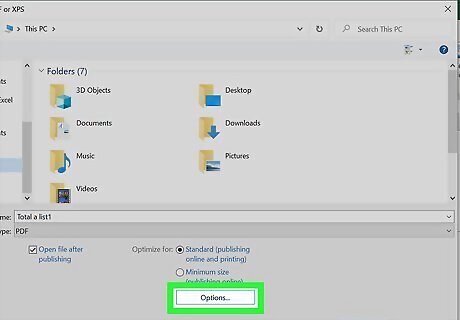
Click the Options… button. This will allow you to adjust the settings for the PDF file you are about to create.
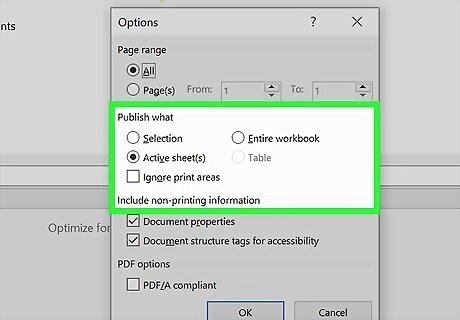
Choose your PDF options and click OK. If you selected an area of your spreadsheet to save as a PDF, choose Selection under "Publish what." This ensures that only that selected area is saved as a PDF. If you'd rather save the entire visible worksheet as a PDF, choose Active sheet(s) instead. If you want to choose specific pages from the workbook to save as a PDF, use the "Page(s)" drop-down menus to define the first and last pages. Click OK to continue.
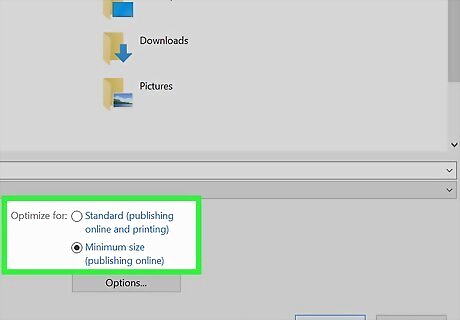
Choose your optimization (optional). Above the "Options" button, you can select how you want to optimize the PDF. Most people can stick with "Standard" unless the spreadsheet is very large. "Minimum size" will reduce the size of a larger file to something more manageable. If you want to change the location to which you're saving the file, you can navigate to that folder in the window now.
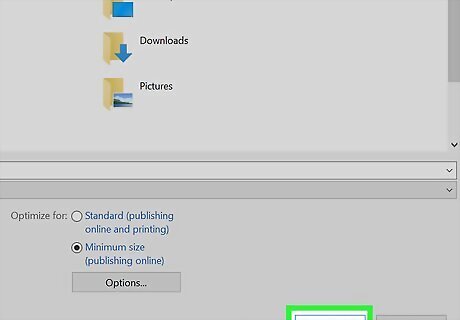
Name the file and click Publish. This exports the selected information to a new PDF file with the name you've entered.
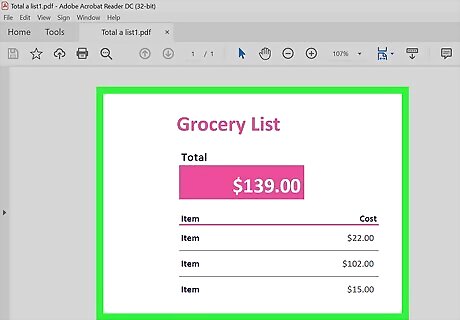
Review the PDF. By default, the PDF file will open automatically for your review. If it doesn't open by automatically, just double-click the name of the file in the folder to which you saved it.. It's not really possible to edit the PDF now, so if you need to make changes you'll want to make them in the Excel document and then create a new PDF.
Using Google Drive
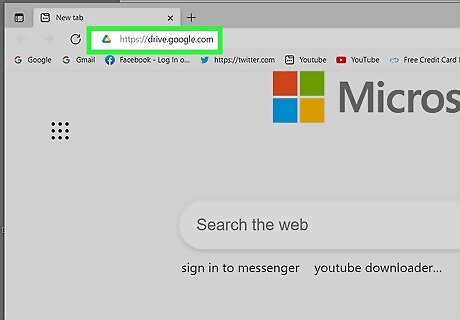
Go to https://drive.google.com. If you need to convert an Excel spreadsheet to PDF but don't have Excel, don't fret—you can use tools built in to your Google account to do the conversion for free. If you're not already signed in to your Google account, sign in when prompted.
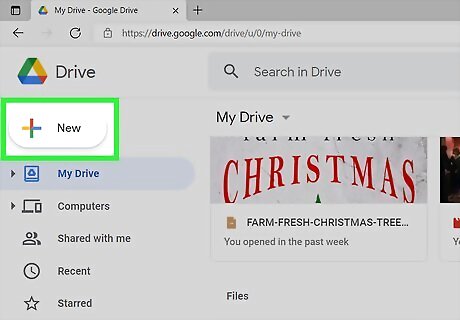
Click +New. It's at the top-left corner of your Google Drive.
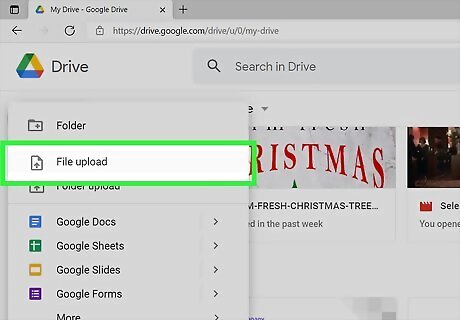
Click File upload. This opens your computer's file browser.
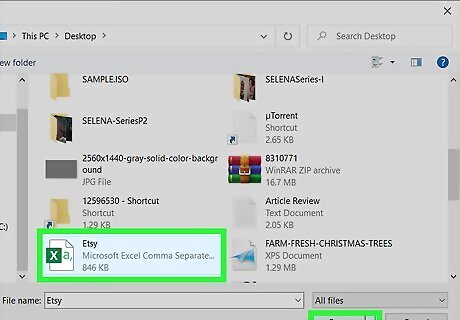
Select your Excel spreadsheet and click Open. This uploads the spreadsheet to your Google Drive.
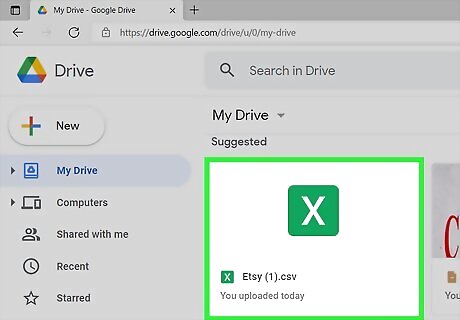
Click the Excel spreadsheet in your Google Drive. This opens the spreadsheet in Google Sheets, Google's free spreadsheet editor.
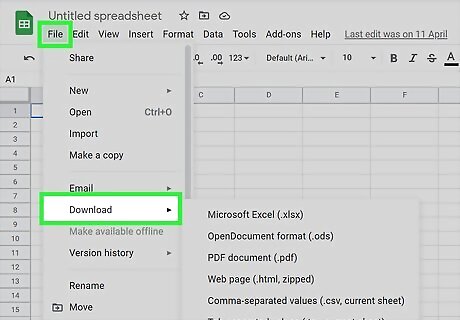
Click the File menu and select Download. A list of download options will expand.
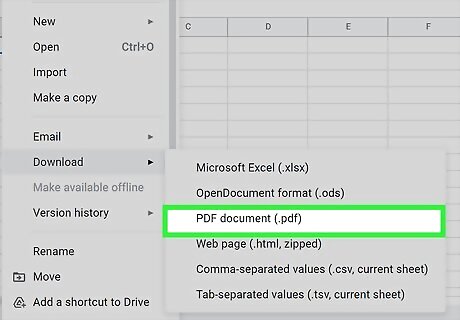
Click PDF document (.pdf). This displays a preview of your PDF in the Google Sheets printing window.
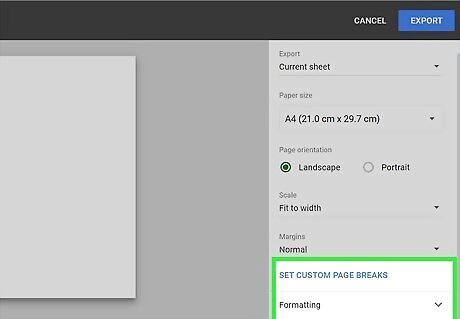
Adjust the layout of your PDF. If the print preview doesn't look the way you want, use the right panel to make any changes you need before you continue. The PDF will save in the same orientation as the spreadsheet (usually landscape mode). If you'd rather it be in portrait (vertical) mode, select Portrait under "Page orientation." Change the scale (the size/fit on the page) and margin size if necessary. Click Formatting to choose whether to display gridlines and/or notes, adjust the page order, and change the alignment. To add headers and footers to the tops and bottoms of pages, click Headers & footers, and then check the boxes to choose which information to display. If your spreadsheet contains a lot of data and cuts off in odd places, click SET CUSTOM PAGE BREAKS in the right panel. Here, you can drag the blue lines to adjust where each page begins and ends. Click CONFIRM BREAKS at the top-right to save your changes.
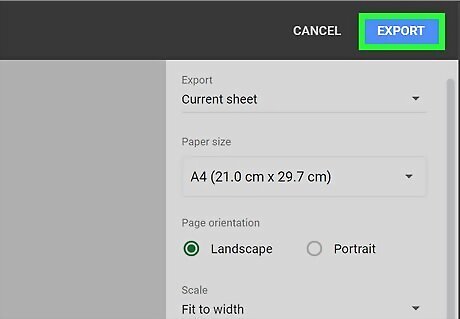
Click EXPORT. It's the blue button at the top-right. This prompts you to save your new PDF to your computer. If the download doesn't begin automatically, choose a location to which you'll save the PDF, and then click Save to download it.
Using Excel for Mac
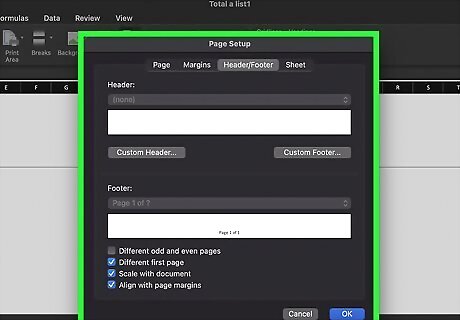
Ensure that the headers and footers on all of your sheets are the same (optional). If you're using Excel 2011 and want to save multiple worksheets in a single PDF, each worksheet will need to have identical headers and footers. If they aren't, each sheet will be created as a separate PDF document, but you can also easily merge these afterwards. Select all of the worksheets in your entire workbook. To do this, click the tab for the first sheet at the bottom of excel, hold down the Shift key, and then click the last sheet's tab to select all. Click the Layout tab and then click Header & Footer. Click the Customize Header... and Customize Footer... buttons to edit the headers and footers for all of the sheets.
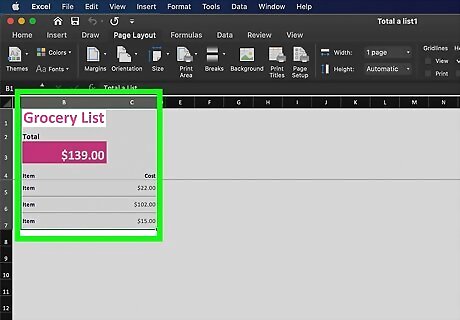
Select the part of the Excel spreadsheet you want to convert to PDF (optional). If there's only a certain part of the spreadsheet that you want to turn into a PDF, select it now. Otherwise, go to the next step. PDF conversions cannot be easily converted back into an Excel sheet, but this method will preserve your original copy.
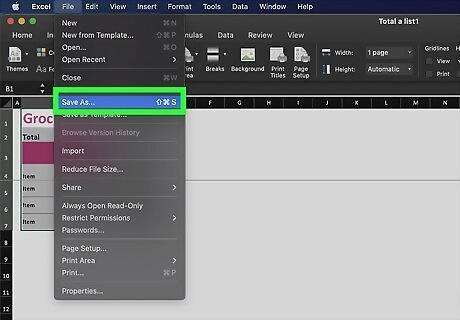
Click the File menu and select Save As. You could also press Command + Shift + S to open the Save As option. If you want to save the PDF to a new folder, you can select that folder now. # Type a different name for the file. The name of the current Excel file appears in the "Save As" field. You will need to enter a different name (even if it's just slightly different) to avoid accidentally overwriting the spreadsheet file.
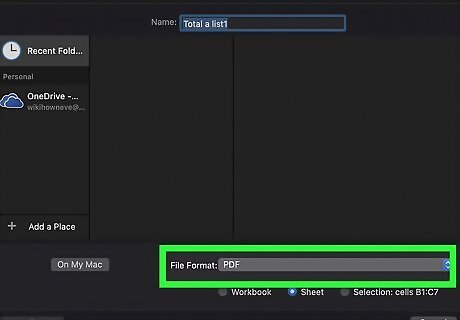
Click the "Format" or "File Format" menu and select PDF. This menu may have a slightly different name depending on your version of Excel.
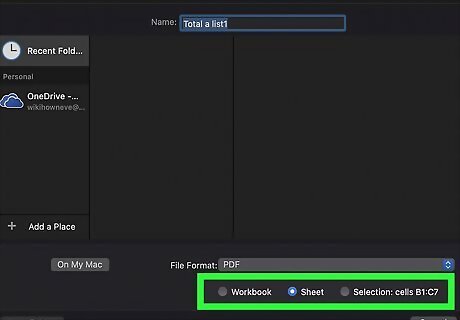
Select what gets included in the PDF. At the bottom of the window, you can select Workbook (to convert the entire workbook), Sheet (to save only the active sheet as a PDF), or Selection (to save just the selected area as a PDF).
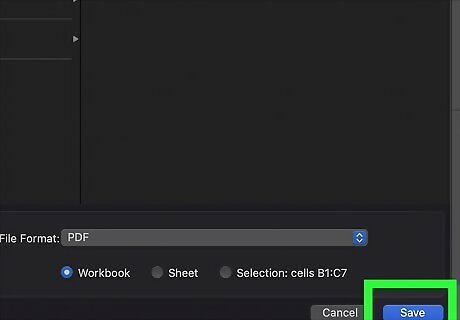
Click Save or Export. You'll see a different option depending on your version of Excel. If the headers don't match on a multi-sheet file, a separate file will be created for each sheet.
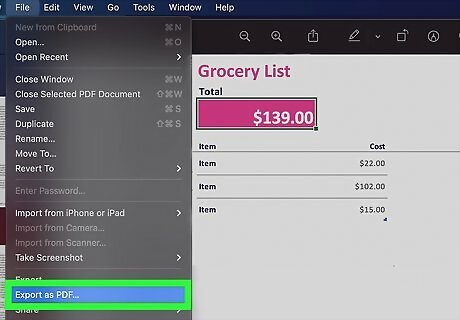
Join the separate PDF files (if necessary). If saving the Excel file as a PDF resulted in multiple PDF files, you can quickly join them together using Preview. Here's how: Open the first PDF file by double-clicking its name in its folder. Click the View menu and select Thumbnails. Click the last thumbnail to select it. This tells Preview to add the next PDF to the end of the current document. Click the Edit menu and select Insert > Page from File. Select the next PDF in the range and click Open. Repeat this process until you've added all PDFs. Click File and select Export as PDF.


Comments
0 comment