views
X
Research source
This helps protect the transmission from failure, and is a simple procedure almost anyone can do. Here are steps to help you accomplish this project.
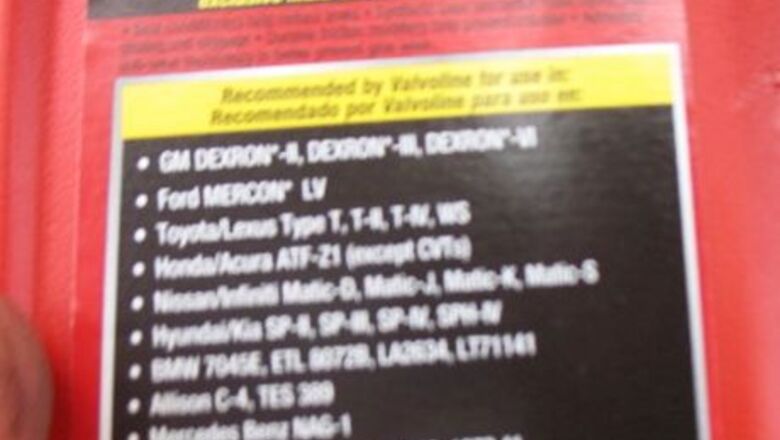
Purchase the replacement transmission fluid. Most mechanics recommend using only Honda OEM fluid, but other products will work if they are labelled ATF DW-1 or ATF-Z1. A normal fluid change will require about 3.3 US quarts (3,000 ml) (3 liters) of fluid.
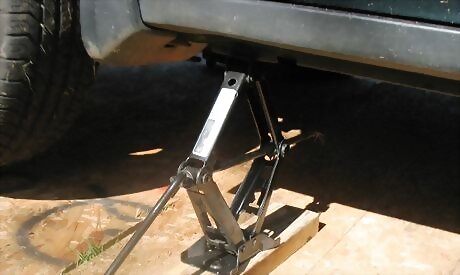
Jack up the vehicle using the lift point on the driver's side behind the front wheel. The fluid drain plug can be reached without requiring you to actually get underneath the van, but it is always recommended you support the vehicle with jack stands before proceeding.
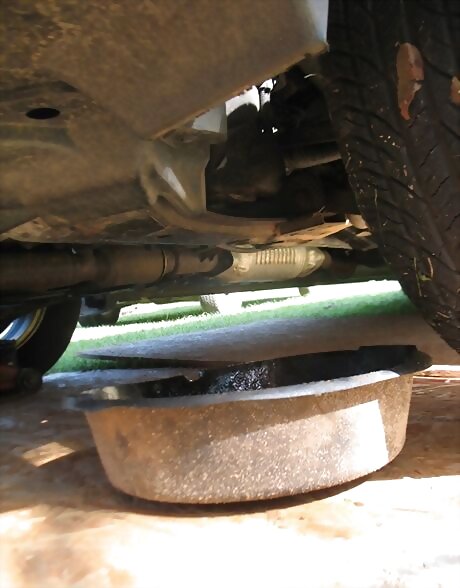
Place a drain pan underneath drain plug to catch the old fluid. You will find the drain hole behind the plastic shroud behind the front bumper. Make sure to allow for the draining oil's trajectory, since it will at first flow out rather quickly.
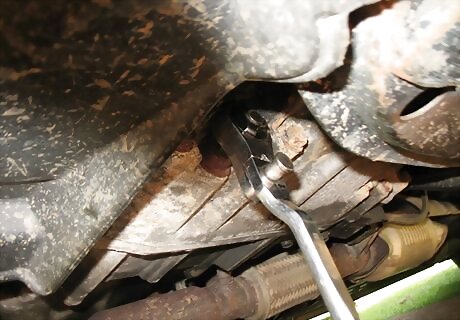
Remove the transmission drain plug using a ⁄8 inch (1.0 cm) ratchet. The drain plug has a recessed hole to accommodate the ratchet drive stud. Turn it counterclockwise until loose, then finish removing it with your fingers.
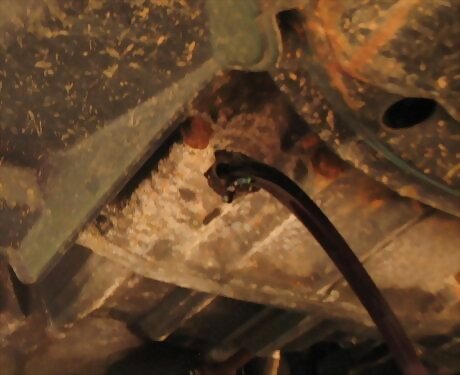
Allow all the fluid that will to drain from the transmission. This may take several minutes, but the objective is to replace as much of the old fluid as possible.
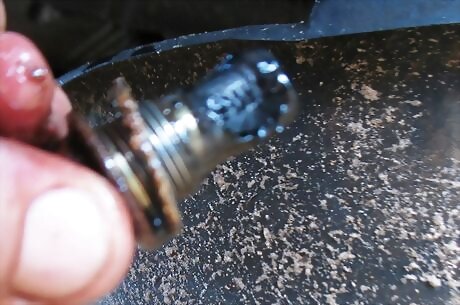
Clean the magnet on the drain plug and replace it. The manufacturer and some aftermarket service manuals recommend always changing the aluminum crush washer with each change to prevent leaks. These can be purchased from your Honda dealer if you desire to replace them.
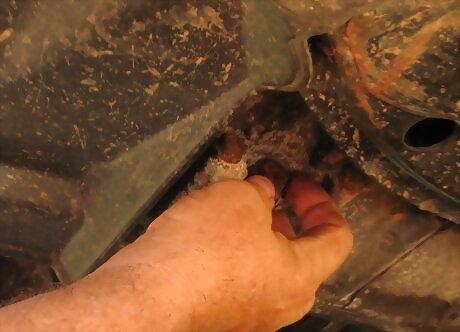
Tighten the drain plug snuggly and remove tools and the drain pan from underneath the vehicle. Remove the jack stands or supports and lower it with the jack.
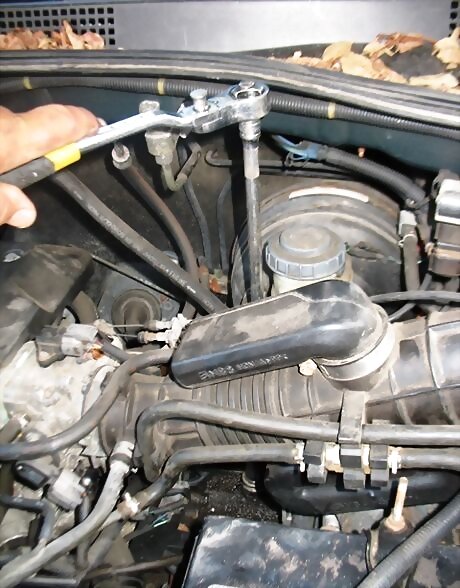
Remove the filler plug on top of the transmission. This will require a 17mm socket and a 15 inch (38.1 cm) long extension, since it is below and behind the air breather assembly. Sometimes breaking the filler plug may require using a cheater since the bolt can be very tight.
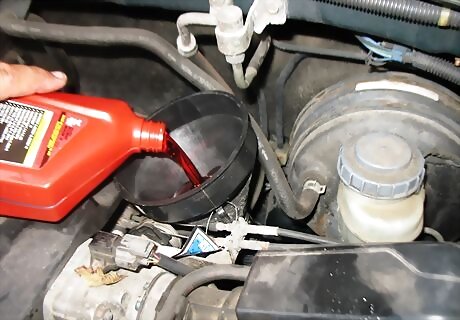
Place a long throated funnel in the filler hole and pour in 3 US quarts (3,000 ml) of ATF-Z1 or ATF DW-1 fluid.
Replace the filler plug and crank the vehicle's engine. Hold the break and shift the transmission manually through all of the gears. Shut off the engine and check the fluid level. Many service guides and forums suggest repeating the process two or three times to remove more of the fluid, since draining the fluid only removes the fluid in the main transmission body and reservoir, leaving old fluid in the torque converter and valve body.
Recheck the transmission fluid level after a test drive to make sure it is full. Normally, a fluid change will require slightly more than 3 US quarts (3,000 ml). To check the fluid, use the transmission fluid dipstick. Drive the vehicle until it is warmed up and has shifted through all of the gears, park it on a level surface, and shut it off. Remove the dipstick between 60 and 90 seconds after turning the engine off, and make sure the level is between the two marks.


Comments
0 comment