views
Planning Your Pond Location
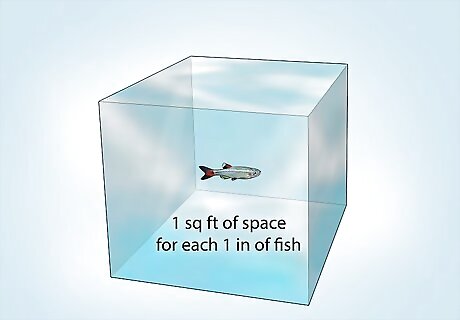
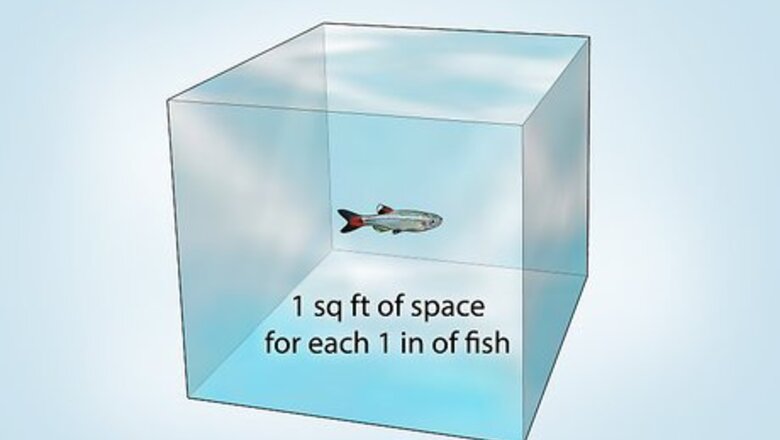
Provide 1 sq ft (0.093 m) of space for each 1 in (2.5 cm) of fish. Start by deciding how much of your yard you're willing to devote to a pond. Afterward, multiply the length and width of the area to get the square footage. From here, you can determine how many fish you can accommodate by estimating that every 1 inch (2.5 cm) of fish requires 1 square foot (0.093 m). For instance, if you plan to add 10 fish that are each 5 inches (13 cm) in length, the pond should be at least 50 square feet (4.6 m). If you install a filtration device, you can allow 2 inches (5.1 cm) of fish per square foot. Otherwise, don't break the 1 inch (2.5 cm) rule.
Check local, state, or federal requirements for fishing ponds. Contact your local building department and ask how far the pond must be from property lines. Afterward, contact the local environmental department and ask about relevant regulations. Depending on where you live and the size of your pond, you might need to obtain a permit. For example, in Idaho, you need a Private Fish Pond Permit, which is free but must be renewed every 5 years. Ask about free meetings from a certified pond consultant. They can help you determine how to best create a pond and consider variables like available soil types and potential rainfall. Determine if you need a fence around your pond. In some areas, local codes require fencing for ponds deeper than 18 inches (46 cm).
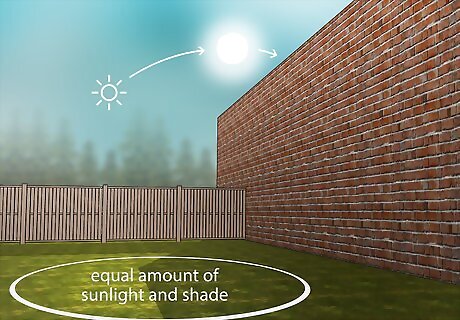
Select a pond location exposed to equal amounts of sunlight and shade. Ponds should be placed in a region that is exposed to sunlight during the morning and shade in the afternoon. This will keep the water temperature cool and prevent algae blooms. Avoid placing your pond under trees. Although this is great for shade, it will quickly clog the pond with seeds, leaves, or needles. Always factor in young trees growing nearby and estimate where their branches will grow. Don't situate your pond in a location where water runs off or it will be at a higher risk of pollution. Make sure you have a waterproof ground-fault circuit interrupter (GFCI) outlet outside your home to power your pump. It should be about 10 ft (3.0 m) from the pond.
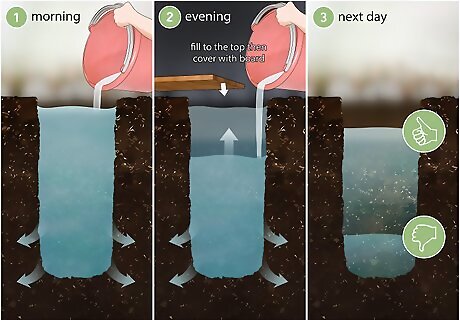
Check that the location's soil has low water retention. Squeeze a handful of soil into a ball, throw it into the air, and catch it. If it breaks apart, the soil is not suitable. If it stays together, dig a hole to your waist and fill it to the top with water in the morning. In the evening, top the hole off with water and cover it with a board. If most of the water remains the next day, the soil is suitable for a pond. If you only have space in a location that isn't suitable for ponds, cover the hole with a layer of plastic sheeting, sand, or concrete. This will prevent the pond's water from being absorbed into the soil. Purchase plastic sheeting, sand, and concrete from home hardware stores. EXPERT TIP Scott Johnson Scott Johnson Landscape & Design Consultant Scott Johnson is the Owner and Lead Design Consultant for Concrete Creations, Inc., an award-winning landscape and design company based in the San Diego, California metro area. He has over 30 years of experience in the pool and landscape construction industry and specializes in large estate outdoor environment construction projects. His work has been featured in San Diego Home & Garden Magazine and on Pool Kings TV Show. He earned a BS degree in Construction Management with an emphasis in Architecture and CAD design from Northern Arizona University. Scott Johnson Scott Johnson Landscape & Design Consultant Our Expert Agrees: Before you build a fishing pond, check your soil type. If the soil is sandy or loam, you'll likely be able to dig the pond yourself. If it's mostly rocky, you might have to hire someone to excavate the area for you.
Creating Your Pond
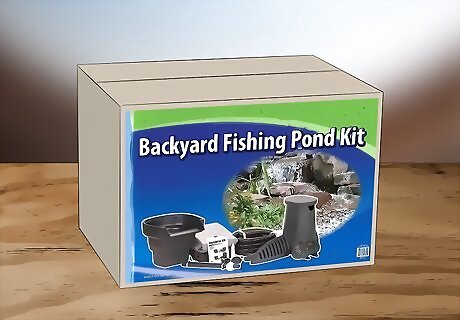
Purchase a backyard fishing pond kit. Head to a local home hardware store to purchase a kit, which should contain a water liner, pump, and sometimes accessories like silk water lilies. Remember that each one is designed for specific sizes. For example, the smallest is typically 9 square feet (0.84 m) and designed for 84 gallons (320 L). If you're installing the pond without professional help, don't invest in a kit for ponds deeper than 18 inches (46 cm) and longer than 6 feet (1.8 m). Select a kit that fits local fishing pond regulations and the location you have selected. If you'd like, you can also purchase the pond liner and pump separately.
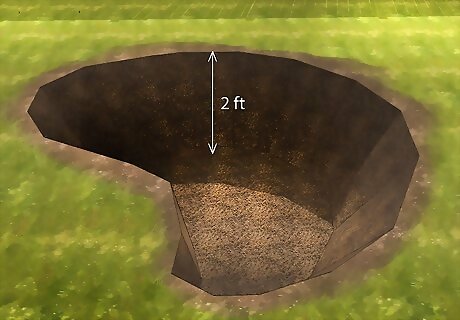
Dig a hole at least 2 to 3 feet (0.61 to 0.91 m) deep. Use the length and width measurements of your pond to determine the hole size. In standard regions, 2 ft (0.61 m) is the minimum depth for ponds that harbor fish. If you live in an extreme northern region, the hole should be at least 3 ft (0.91 m). Always start by thrusting your shovel straight down and wiggling it forward and backward and side to side—this will loosen the soil. Grip the middle of the shovel with your non-dominant hand and the top of your shovel's handle with your dominant hand. Create a pond depth between 6 inches (15 cm) and 4 feet (1.2 m) to encourage other forms of wildlife like toads, frogs, salamanders, and ducklings. If the depth of your hole is uneven, be sure that at least 40 to 50 percent of the pond is the deeper region. Call 811 to locate utility lines in your area and be sure not to dig your pond's hole near any lines or pipes.
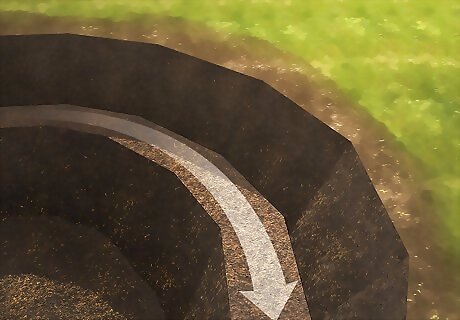
Create a shelf below the surface of the waterline with excess soil. The shelf should be about 18 inches (46 cm) wide and 18 inches (46 cm) below the surface of the water. This is for plants and also provides a step for anyone who falls into the pond. Bring any excess soil to a landfill or place an online classified for it. If you bring it to a landfill, call your city's offices beforehand to determine sanitary requirements for the soil.
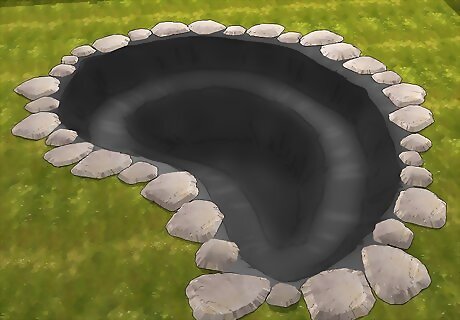
Install the liner over the hole. With the help of a friend, pull the liner loosely over across the hole. Be sure there is even overlap on all of its sides. Now, weigh down the perimeter with small flat bricks or stones. If you don't purchase a pond kit and need to purchase liner separately, calculate the length and width using this formula: (length or width) + (2 x pond depth) + 2. Afterward, multiply the length and width together to get the total square footage. Consider a pond that is 3 foot (0.91 m) deep and both 7 feet (2.1 m) long and wide. The calculation for both length and width is 7 + (2 x 3) + 2, which equals 15. This means that the square footage calculation is 15 x 15, which is 225—the area in square feet that your water liner must cover. Ethylene propylene diene terpolymer (EPDM) liner is more expensive but more flexible, while polyethylene (PE) and reinforced polypropylene (RPP) line are cheaper but thicker and harder to work with.
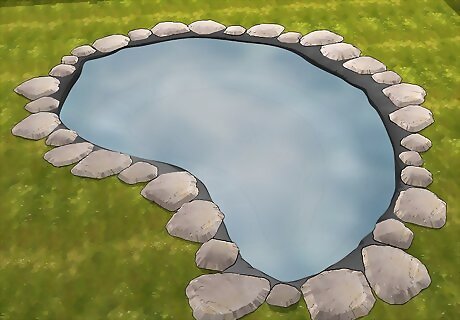
Add water to the hole. Use a garden hose to fill your pond with water and adjust the liner to align with the sides of the pond as it fills. Start removing the stone weights as the pond continues to fill to prevent the liner from overstretching. Be sure that the water is dechlorinated. If you can't, allow the water to sit in your pond for at least 1 day to settle and let the chlorine leave the water into the air. This will prevent your fish from being harmed. Trim off any extra liner with sharp scissors or a utility knife when the pond is full. Purchase a dechlorinator from big-box stores or home hardware stores. Skip this step and let your hole fill up with rainwater if you live in an area with frequent rain.
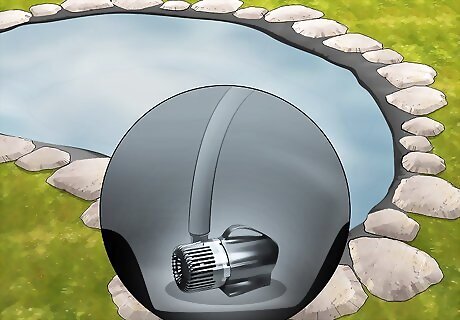
Install a pond pump with a GPH equal to your pond's square footage. GPH stands for gallons per hour. If you bought a fishing pond kit, the pump provided will be indicated for the size of the kit. Attach the feet to the pump to secure it to the pond floor and place it into the middle of the pond. Now, connect it to a waterproof (GFCI) outlet and turn it on. If the water flow is too much, adjust the rate on the pump. If you're buying your own pump, make sure it can pump the appropriate GPH. For example, if your pond is 225 square feet (21 square meters), the GPH should be at least 225. You can also control water flow using the nozzles provided with your pump. Purchase a unit with the lowest wattage for the cheapest electrical costs. Hire a contractor to install heavy-duty pond pumps for larger ponds.
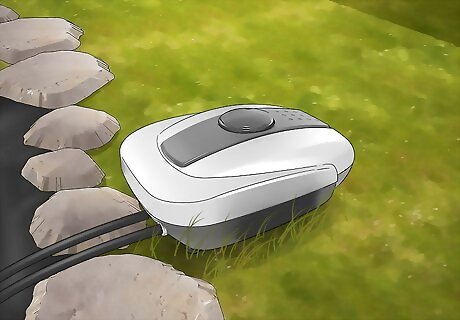
Invest in an air filter to increase oxygen levels in the water. Place your air filter on a level surface in a shaded area that is above your pond's water line. Connect the airlines to the filter and extend them toward the edge of the pond. Always connect the included check valves to the airlines. Finally, place the air stones evenly around your pond and connect the airlines to them. Be sure the arrows on the check valves point in the same direction as the stones. Connect your filter to a GFCI protected outlet. Move air stones to shallow areas of the pond during the winter. Installation instructions vary by product—always follow the manufacturer's instructions.
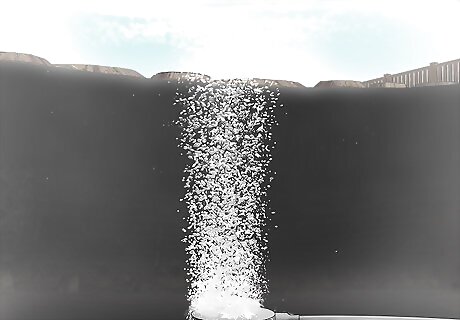
Install a water diffuser to keep your pond's oxygen circulating. Proper oxygen circulation helps promote the longevity of your fish and improve the health of your water system. Always choose a product designed for your pond's depth. Most systems are installed by connecting airlines to your diffuser, placing the diffuser at the bottom of the pond, and connecting the airlines to an air compressor. Always follow the manufacturer's instructions for your diffuser.
Adding Plants and Fish
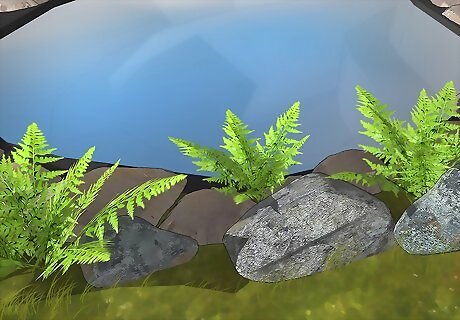
Add plants to make the pond more like the fish's natural habitat. Many fish eat wetland plants in their natural habitat. To anchor a plant without damaging its roots, take the roots in your hand and make a beak with your fingers around them. Sink your hand into the soil while covering the plant's roots and then open your fingers. This will ensure that the roots spread out before the cover settles over them. Arrange your plants in clusters of 2 to 3 so that baby fish can hide from larger predators that can (and will) eat them. Try plants like cattail, lotus, iris, and water hyacinth. Position the plants both in the center of the pond and along the hole's shelf. When placing ponds in the center, ensure a few feet of space between them to prevent crowding.
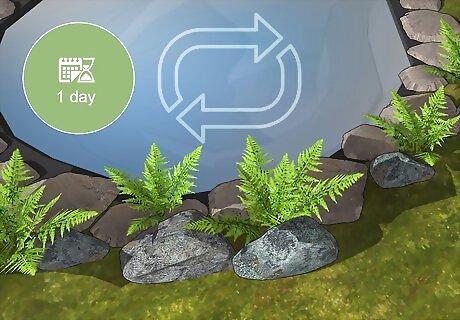
Let your pond water settle for 1 day before adding fish. Letting the water settle is especially crucial for water that hasn't been treated to remove chlorine. When adding your fish, net them and gently dump them into your pond. Acclimatize your fish to the new water before putting them into the pond. Do this by putting them into a tub or bucket with their original water, then gradually adding your pond water until they are breathing almost pure pond water.
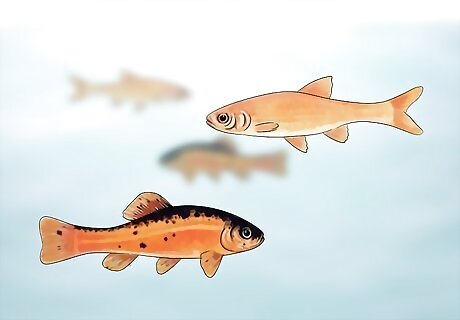
Catch some fish from a local pond. Get several pond fish to start. Try to get more than 1 species, and more than 1 of each species. This ensures that your pond has diversity and your fish can reproduce and make more fish. If you're planning to eat your fish, make sure they're an edible species. Include cleaners such as crawdads (crayfish) to keep the bottom of the tank clean and make sure they have plenty of rocks to hide under. A good rule of thumb is to have at least 3 breeding pairs (3 males, 3 females, all mature). Make sure you have species that won't kill each other right off the bat. You can also buy fish from local pet stores or contact the local wildlife and fisheries department and ask about ordering hatchlings.
Maintaining Your Pond
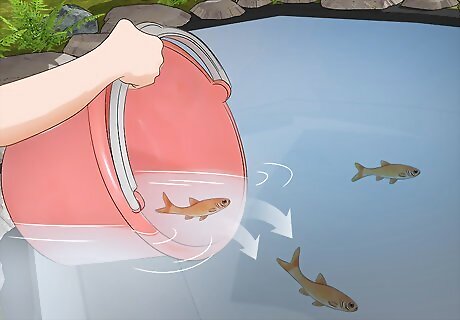
Add new fish to keep the population stable. Remember that if you catch every fish, there will be no more to reproduce. Try and replace all the fish you catch with the same or similar fish to avoid disrupting the pond ecosystem. Keep the male and female fish populations as even as possible to encourage breeding.
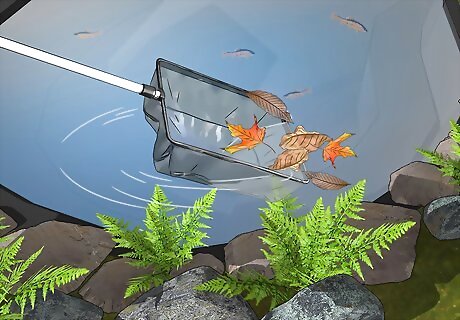
Clean the water of debris every week. Use a leaf skimmer to remove debris from the surface of the water—just don't go completely under the water with your skimmer. For leaves at the bottom of the pond, use a leaf vacuum. Purchase leaf skimmers and vacuums from home improvement stores.
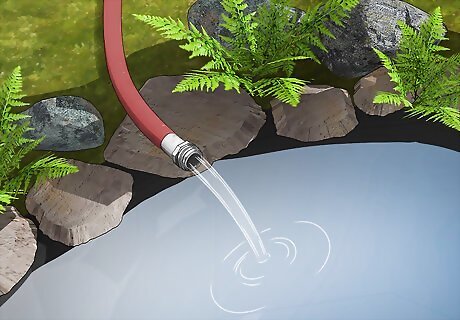
Refill your pond when the water level lowers. Splashing and evaporation will eventually decrease the pond's water level. If you get enough rain, you might not have to refill it often. Otherwise, use a garden hose top it off. Attach a dechlorinator to the pond if you're filling it up with city water.




Comments
0 comment