
Making a Strong Bridge
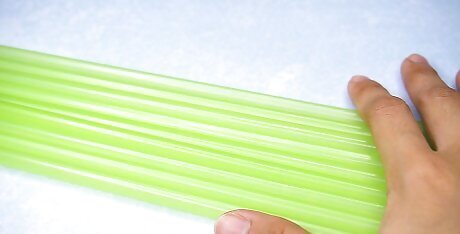
Purchase 24 straight straws. You will need 24 plastic drinking straws to build this bridge. Purchase these from your local supermarket. Make sure that the straws aren’t bendy. If you can only find bendy straws, cut of the bendy portion of the straw and make a smaller bridge. If you want a longer bridge, purchase 34 straws.
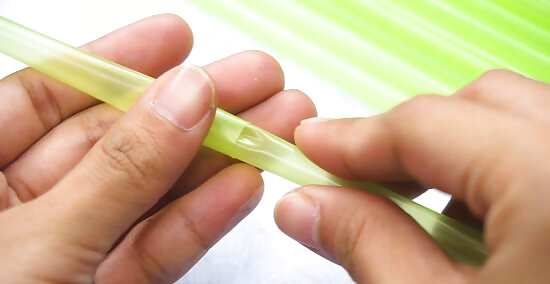
Push the tip of a straw 1.5 in (3.8 cm) inside a separate straw. Push down on one end of a straw to make the opening narrower and push it into another straw. This extends the length of the bridge, whilst maintaining its strength. These straws will form the base of the bridge.
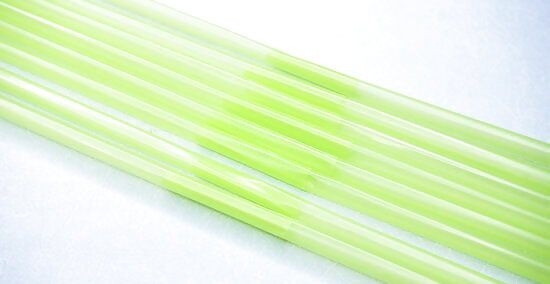
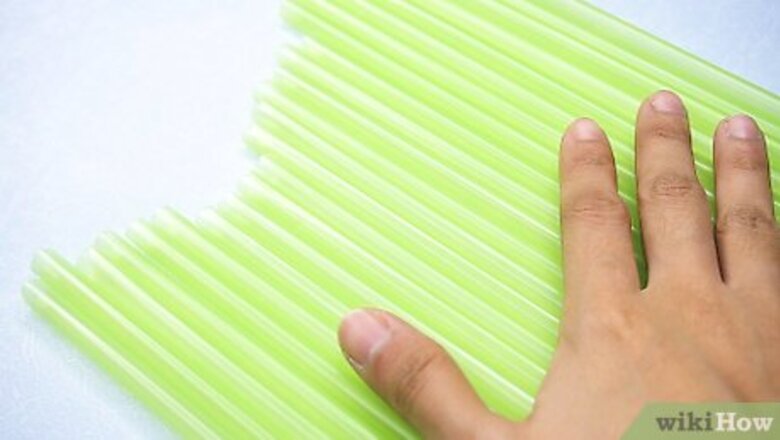
Connect 14 more straws to create a bridge that is 8 straws wide. These straws will form the base of the bridge. Use the method in 1.2 to connect 14 more straws into chains. Make a total of 8 chains. If you need a wider bridge, connect more straws together. If you want a longer bridge, squeeze another straw and push it into one of the openings of the existing bridge base. Repeat this for each of the straws on the bridge base.
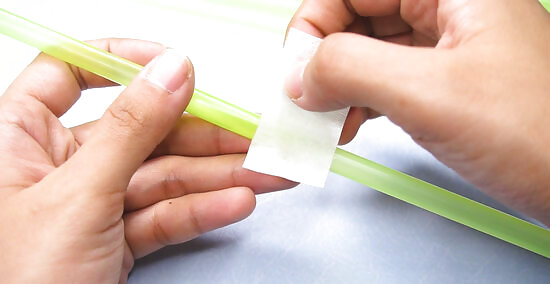
Tape the connection point on each straw chain. Carefully pick up one of the straw chains you have created. Cut a small piece of tape that is approximately 1.5 inches (3.8 cm) and wrap it around the joining point of the straws. Make sure that the tape touches the surface of both straws: otherwise, it won’t hold them in place. If you have added a third straw to the length of the bridge, you will need to tape the second connection point as well.
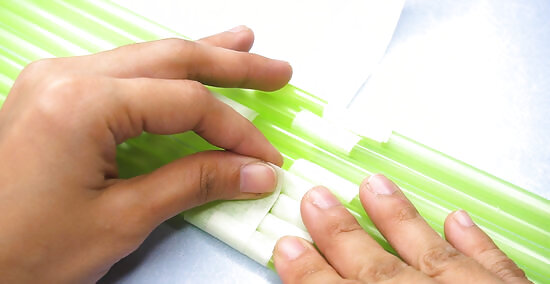
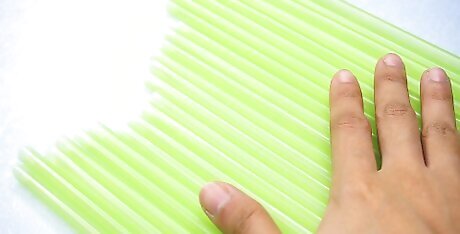
Tape the 8 straw chains together to form the bridge base. Push the 8 straw chains together so that they are all the same height and are lying flat on the ground. Cut a larger piece of tape that is approximately 2.5 inches (6.4 cm) and place it width-ways over the middle point of the bridge base.
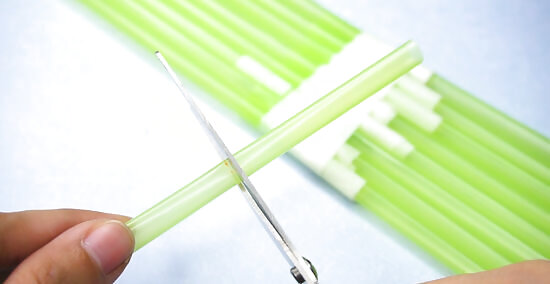
Cut 8 straws to the width of the bridge. Hold the straws against the base and use a permanent marker to mark how long the straws needs to be in order to span the width of the base. Use a pair of scissors to cut the straws. These straws are used to support the bridge and make it stronger. Use 2 extra straws if you are building a longer bridge.
Spread the cut straws across the bridge and tape them down. These straws will help to support the bridge and allow it to hold more weight. Place the cut straws perpendicular to the base of the bridge and evenly distribute them across the bottom side of the bridge base. Cut a small piece of tape and stick it over the piece of cut straw and onto the bridge base. Repeat this process for each supporting straw. Use 2 pieces of tape per cut straw to increase the strength of the bridge.
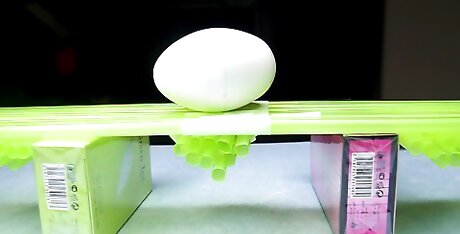
Place the bridge between 2 level objects. Turn the bridge over so that the flat side is facing upwards. Balance the ends of the bridge on 2 flat surfaces and let the your straw bridge cover the gap. Balance a toy car, or a small weight, in the middle of the bridge to prove that it is stable. If you want a longer bridge, add more straws to the base. You will need to use extra tape to support the extra length. Try using piles of books to balance the bridge on. The bridge is designed to hold small items. Avoid putting heavy items on the bridge as this will cause the bridge to break. Slowly increase the weight you put on the bridge to test how much it can hold.
Building a Bendy Bridge
Gather 9 straight straws. You will need 9 plastic straws to complete this bridge. Use regular length drinking straws. Purchase these from your local supermarket.
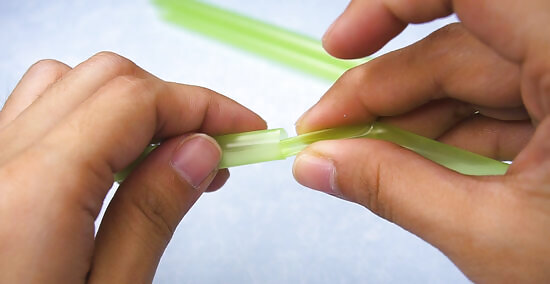
Connect 2 sets of 2 straws to make a chain. Squeeze one end of a straw. While you are squeezing it, push it 1.5 in (3.8 cm) through the open end of a second straw. Repeat this process with the remaining 2 straws. These connected straws will form the sides of the bridge.
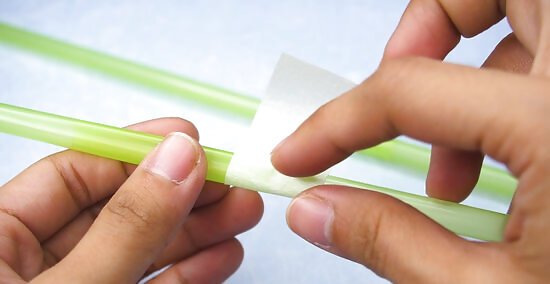
Wrap tape around the joining points of the connected straws. Cut 2 small pieces of tape that are approximately 1.5 inches (3.8 cm). Pick up the connected straws and wrap the tape around the joining point of the straws. This will stop the straws from coming apart when weight is put on the bridge.
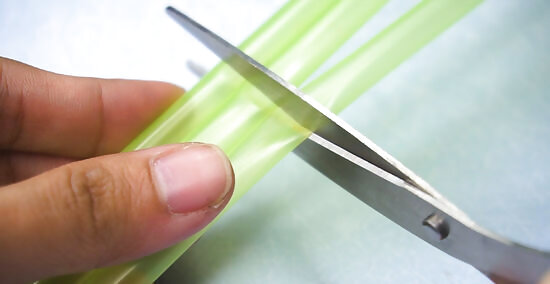
Cut 3 straws in half. Use a ruler to measure how long the straws are. Divide the length of the straws in half to find the middle point. Use a permanent marker to mark the middle point of the straws. Cut the straws in half, at the marked point, using a pair of scissors. Make sure each straw is cut to the same length: otherwise, they won’t reach the sides of the bridge. These straws will be used to form the base of the bridge.
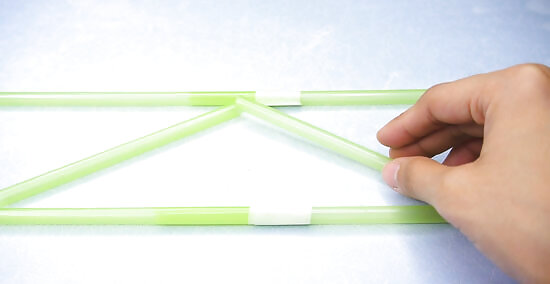
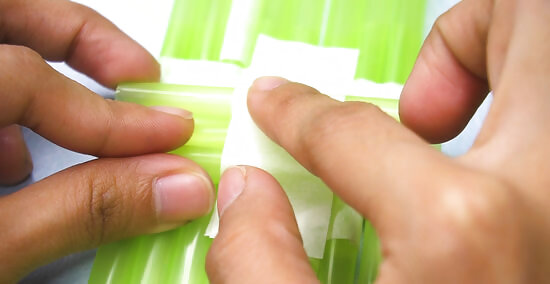
Assemble the cut straws so that they form a zig-zag pattern. Place one side of the bridge about 2.5 inches (6.4 cm) inches below the other. Assemble the cut straws between the 2 sides of the bridge so that they form a zig-zag pattern. Each straw needs to be touching both sides of the bridge. Make sure to assemble the straws on a flat surface. The zig-zag pattern needs to extend the entire length of the bridge. If the straws don’t reach to the end of the bridge, reduce the width of the bridge, and adjust the angles of the cut straws so the angles between the triangles are wider.
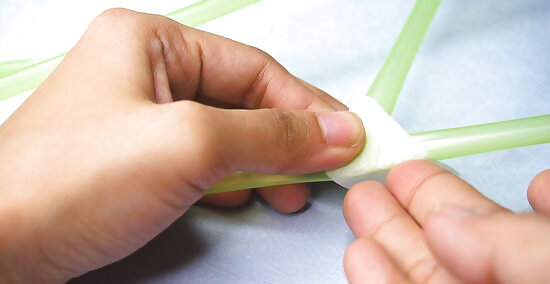
Tape the cut straws to the sides of the bridge. Cut pieces of tape that are approximately 2.5 inches (6.4 cm). Wrap them around the side of the bridge and around the ends of the straws that form a point (i.e. the tip of the triangle). You will need to wrap the tape around a few times to secure the straws in place. You can use pins to secure the straws in place instead of tape. Make sure you are careful not to prick yourself if you use pins.
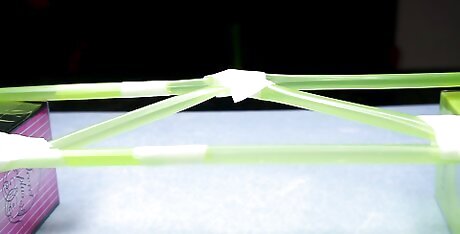
Place the bridge between 2 flat surfaces. Balance the ends of the bridge between 2 flat surfaces and let the your straw bridge cover the gap. Stacks of big blocks or books work well. If you feel like a challenge, add more straws to your bridge to extend its length. You may need to use extra tape and cut straws to support the extra lengths. Try using piles of books to balance the bridge on.
Measure how much weight the bridge can hold. Place a small weight on the middle of the bridge. If the bridge can hold the weight, add a little bit more weight. Keep adding weight until the bridge collapses. Measure how much weight the bridge held and see if you can build another bridge that holds more weight next time. Have a competition with your friends and see whose bridge can hold the most weight.


Comments
0 comment