

- Add a drop cap to make your text interesting and dynamic to capture the attention of your readers.
- Select the text and go to "Insert > Drop cap" (Windows) or select "Drop Cap" from the Format menu (Mac).
- Edit your drop cap by going to "Insert > Drop Cap > Drop Cap Options".
Windows

Select the first letter of a paragraph. You must select existing text to be able to use the Drop Cap menu, if you have space selected, the option will be greyed out in your menu.
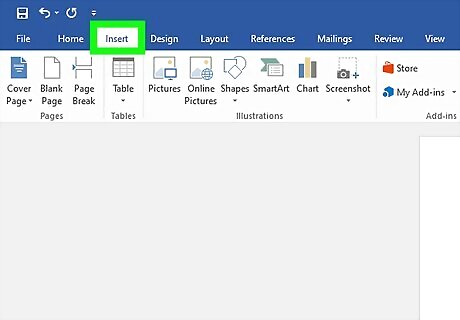
Go to Insert. It's in the editing ribbon next to File and Home.
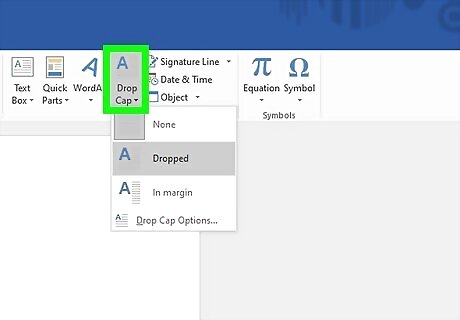
Click Drop Cap. You'll find this in the "Text" grouping of the menu and more options will drop down. If you don't see this option, click the icon in the "Text" panel that has an A with several lines.
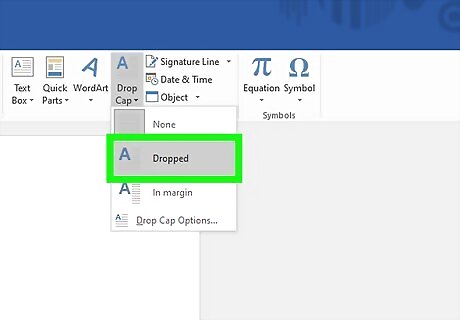
Select an option. If you want to keep the drop cap aligned with your text and in your paragraph, select Dropped. If you want to add your drop cap to the outside of your text, select In margin. To remove the drop cap, select the text then go to Insert > Drop Cap > None.
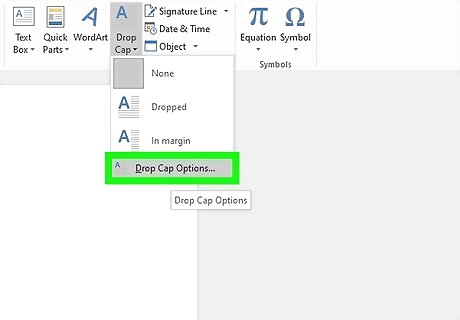
Customize the drop cap (if you don't like the default). Highlight your drop cap, then go to Insert > Drop Cap > Drop Cap Options. You'll have some options to customize your drop cap: Font lets you change the font, which will only apply to your drop cap not the rest of your text. The option of Lines to drop will change how big your drop cap appears. Distance from text allows you to change how far away your drop cap is from your text. Click OK when you're done to save your changes to your drop cap.
Mac
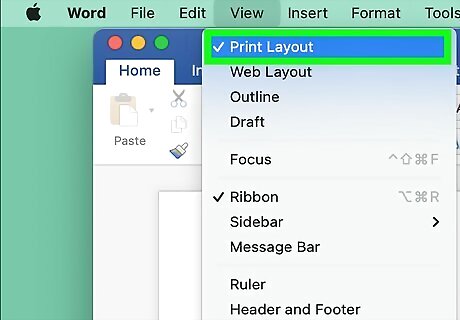
Make sure you're in "Print Layout" view. It's the default view mode, but if it isn't active, you won't see the drop cap menus. If you're not sure if you're in "Print Layout," go to View and click Print Layout.

Select the first letter of a paragraph. You must select existing text to be able to use the Drop Cap menu, if you have space selected, the option will be greyed out in your menu. When you highlight the text, a menu should appear. If not, right-click your selection.
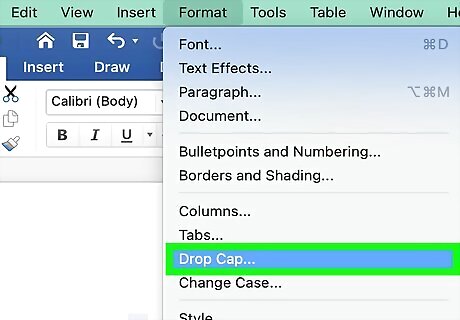
Click Drop Cap. You'll find this in the "Format" menu that appears next to your cursor.

Select an option for the drop cap. If you want to keep the drop cap aligned with your text and in your paragraph, select Dropped. If you want to add your drop cap to the outside of your text, select In margin. To remove the drop cap, select the text then go to Drop Cap > None.


Comments
0 comment