

Adjusting UAC Settings

Click the Start button. You can also press ⊞ Win.
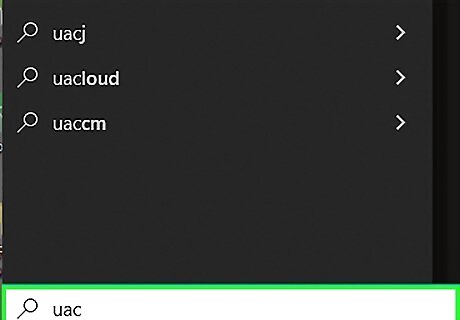
Type uac while the Start menu is open. This will search for UAC options.
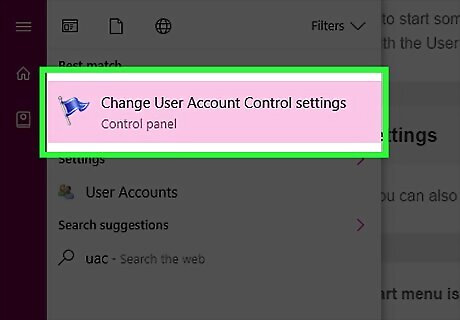
Click the Change User Account Control settings option. This will open the User Account Control Settings window.

Move the slider up one level. If UAC was disabled, move the slider up one level to enable basic UAC. If UAC was already enabled, raise the slider to the next security level.

Click OK. Click Yes if prompted by UAC to continue.

Restart your computer. You'll need to reboot your computer in order for the new UAC changes to take effect.

Try opening the app again.

Lower your UAC settings again. If the app is able to launch, you should be able to go back to your UAC settings and lower it to the setting you were using before. You'll need to reboot again after making the changes.
Clearing the Store Cache

Press ⊞ Win+R. This will open the Run window.

Type WSReset.exe and press ↵ Enter. You'll see a Command Prompt window appear for a few moments, and then the Windows Store will open.

Try opening your app again. Resetting the Windows Store may have fixed the problem you were experiencing.
Running System File Checker

Right-click the Start button. You'll see a list of options appear. If you're using Windows 8 and don't see a Start button, press ⊞ Win+X.
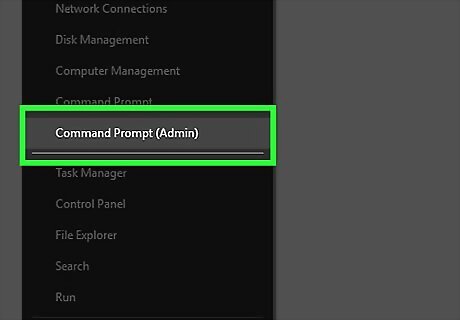
Click Command Prompt (Admin). This will open a Command Prompt window with administrator access.

Type SFC /scannow and press ↵ Enter. This will begin the System File Checker utility.
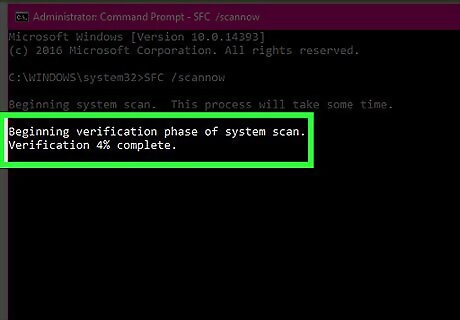
Wait while the scan completes. You can see the scan progress in the Command Prompt window. The scan can take quite a while, especially for slower systems or computers with large amounts of storage. You can cancel the scan at any time by pressing Ctrl+C.

Try running the app again. If the scan was able to find and repair any problems, your app may now work.
Checking Security Policies

Press ⊞ Win+R. This will open the Run window. This method should only be attempted if all other methods have failed, as it involved manually editing Windows Registry entries.

Type secpol.msc and press ↵ Enter. If you get a "Windows cannot find secpol.msc" message, you are not running a compatible version of Windows. This feature is only available in Pro and Enterprise versions of Windows.
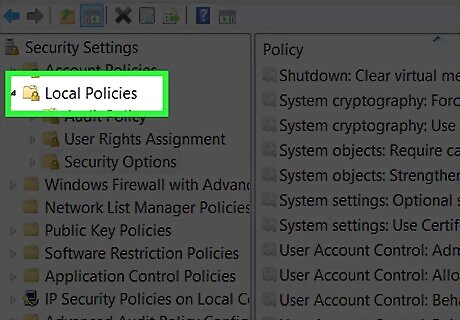
Expand the Local Policies folder. You'll see this in the left frame, and several folders will appear underneath it.

Click Security Options. You'll see a list of policies appear in the right frame.
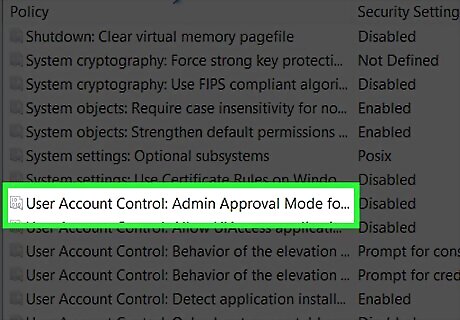
Find the User Account Control: Admin Approval Mode... entry. You may have to scroll to find it.

Double-click the entry.
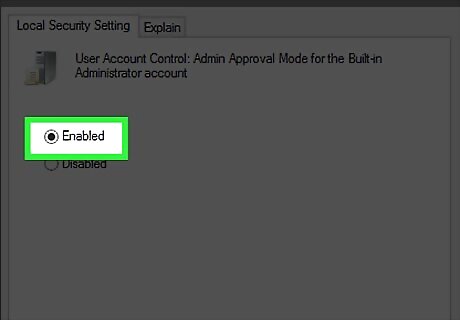
Select the Enabled radio button.

Click OK.
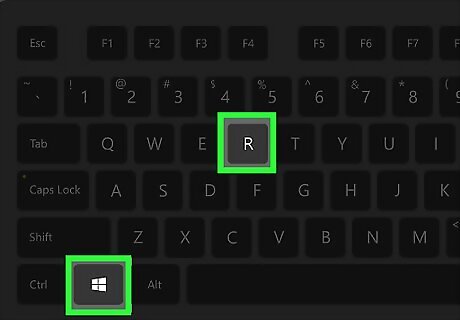
Press ⊞ Win+R. This will open the Run window again.

Type regedit and press ↵ Enter.
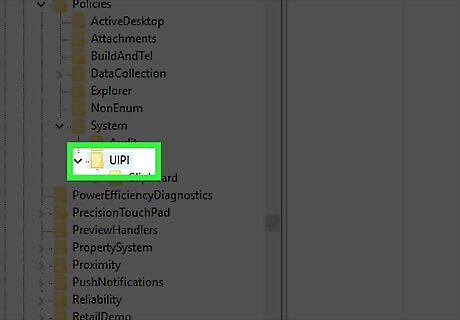
Expand the directory tree to find the correct entry. Expand the directory tree in the left frame to open the following location: HKEY_LOCAL_MACHINE → SOFTWARE → Microsoft → Windows → CurrentVersion → Policies → System → UIPI

Double-click the (Default) item. You'll see this in the right frame after selecting the UIPI folder.

Type 0x00000001(1) into the Value data field.

Click OK. This will save the changes.
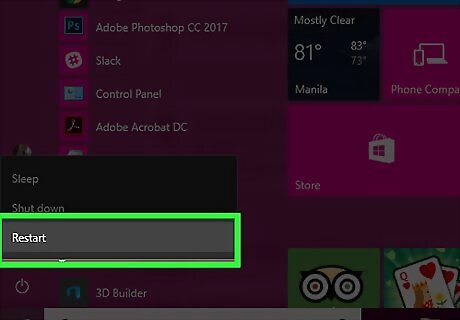
Restart your computer. This will apply your new security policy and registry settings.
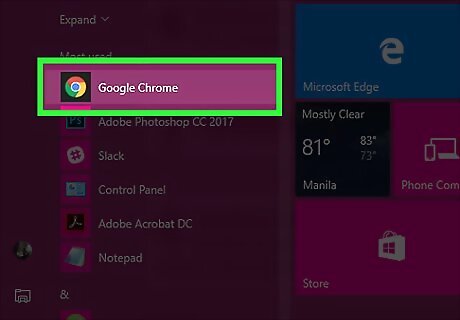
Try running your app again. If your computer's security policy settings were to blame for the app not working, it should work now.


Comments
0 comment