views
Using Windows
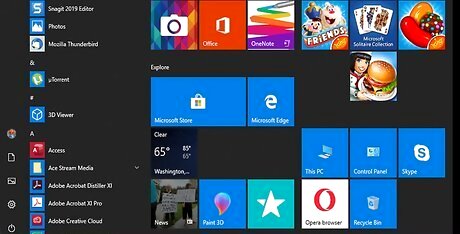
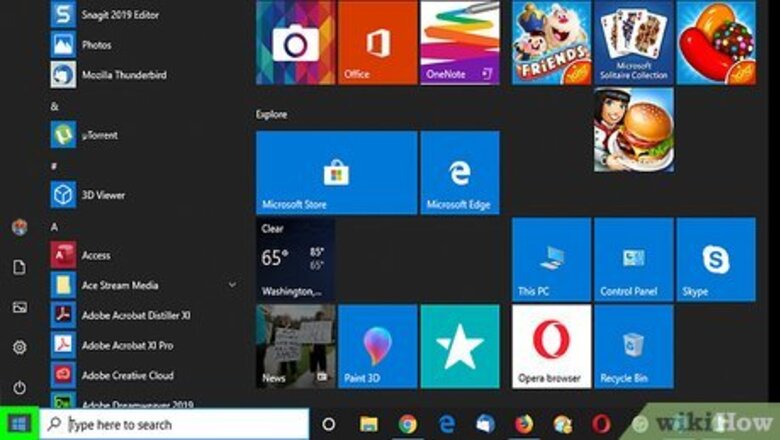
Click Start Windows Start. The menu will open. This method will work on Windows 10 and Windows 11.
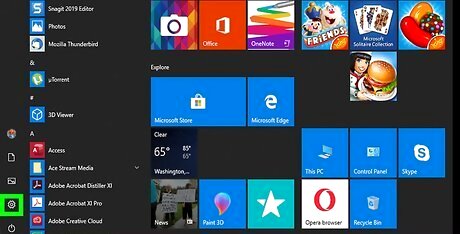
Click Settings Windows Settings. This is the cog icon in the menu.
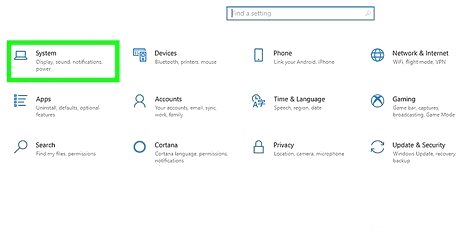
Click System. It's a screen-shaped icon in the upper-left side of the Settings window. On Windows 11, click Accessibility.
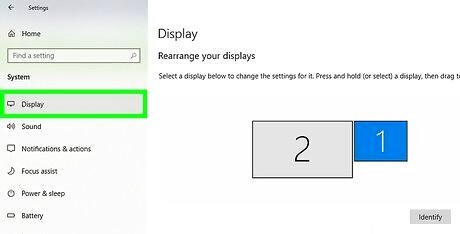
Click Display. This tab is in the left panel. You may already be on this tab. On Windows 11, click Text size.

Click the "Change the size of text, apps, and other items" drop-down box. You'll find it near the middle of the Settings window. A drop-down menu will open. On Windows 11, use the slider next to Text size to increase or decrease the size of your text.

Select a size. You can select: 100%, 125%, 150%, and 175%. You should see the changes immediately. Some text won't be changed until you restart certain apps or your computer. If you want to make everything bigger, including apps and images, choose an option from the drop-down menu under Make everything bigger. On Windows 11, click Display and select an option from the Scale drop-down menu.

Use Magnifier (optional). Magnifier is a feature which allows you to zoom in to view items on your screen without having to change other settings: Press the Windows key and Plus (+) to open Magnifier. Click - to zoom out to a maximum of 100%. Click + to zoom in to a maximum of 1600%. Place the cursor in one of the screen's corners to pan across the screen. Press the Windows key + Esc to exit Magnifier.
Using Mac
Click the Apple menu. This is in the top-left corner of the screen. This method works for Mac Ventura and newer. If you're using Monterey or older, skip to the last step to learn how to use Mac's "Zoom" feature.
Click System Settings. You can find this in the menu.
Click Accessibility. This is in the left panel. You may need to scroll down to find this option.
Click Display. You can find this on the right side.
Click Text size. This is underneath the Text header.
Drag the slider. To increase the text size, drag the slider towards the right. To decrease the text size, drag the slider towards the left. To set the text size for a listed app, click the pop-up menu next to the app and select a size.
Make icons and text bigger (optional). To make everything bigger on the screen, including icons and text, do the following: Click the Apple menu. Click System Settings. Click Displays. Select a lower resolution.
Use Mac's "Zoom" feature (optional). Your Mac has an accessibility feature which allows you to zoom in without changing your system settings. You'll just need to enable it first. Do the following: Click the Apple menu. Click System Settings or System Preferences. Click Accessibility. Click Zoom. Check the Use keyboard shortcuts to zoom box. To zoom in, press Option + Command + Equal (=). To zoom out, press Option + Command + Minus (-). To swap between zoom in/out, press Option + Command + 8.
Using a Web Browser
Open a website in a web browser. You can increase or decrease the text in most web browsers using a keyboard shortcut. This method can also work in certain programs, such as Microsoft Word and Pages.
Press Ctrl++ (Windows) or ⌘ Cmd++ (Mac). This will increase the font on the page or program.
Press Ctrl+- (Windows) or ⌘ Cmd+- (Mac). This will decrease the font on the page or program. You can also use the scroll wheel on your mouse. While pressing Ctrl or Cmd, scroll up to increase the size, or scroll down to decrease the size.


Comments
0 comment